To start with I opened the photographs in bridge and starred the ones I would like to potentially have in my final prints. I did this by pressing command 5 to put a 5 star rating.

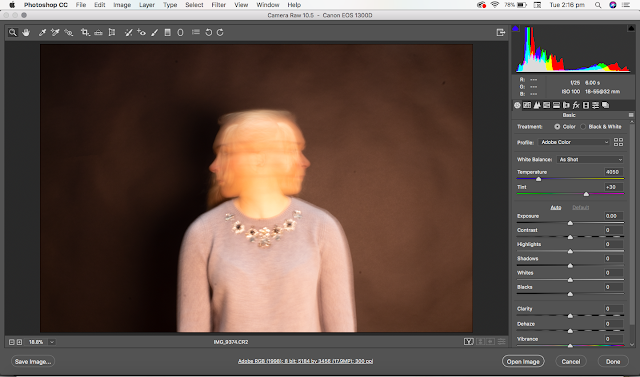
Next I went to file open and opened the photograph in photoshop, which then started with camera raw. I decided not to change to black and white in this as saw no point as I would just edit more in photoshop. I then pressed open image.

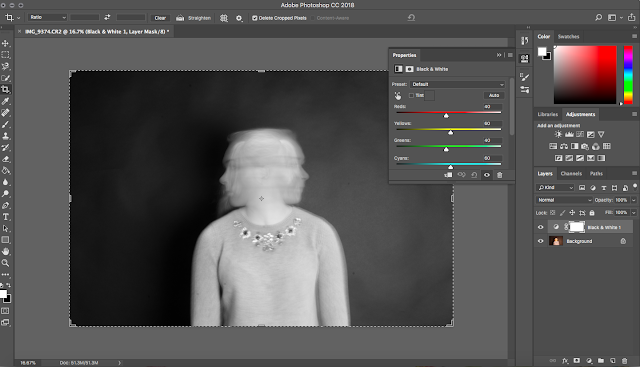
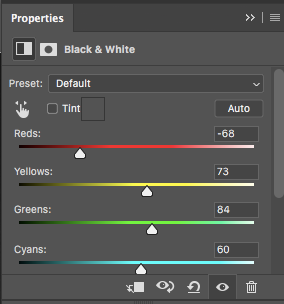
When I opened in photoshop, I selected black and white on the right hand side and it turned it to what it thinks it should be, I edited this slightly to what I wanted. The red bar is far down, with the yellows in the almost middle, and greens just slightly over the middle to the right. I did this to make the background darker and the model lighter.

 This is the layers after adding the black and white adjustment layer.
I then used the crop tool to get my desired photo, cropping out alot of the backgorund and the lower part of the models body, to get all of my photos looking identical.

The final step was to use the spot healing brush to get rid of marks on the back ground and also the embellishment of the jumper on this photo(this is not for every photo).
This is not the exact photo from the editing screenshots but you can see where I have edited out the embellishments from the jumper.

